How to Install VMware vCenter Chargeback and Data Collectors- Step by Step eng version
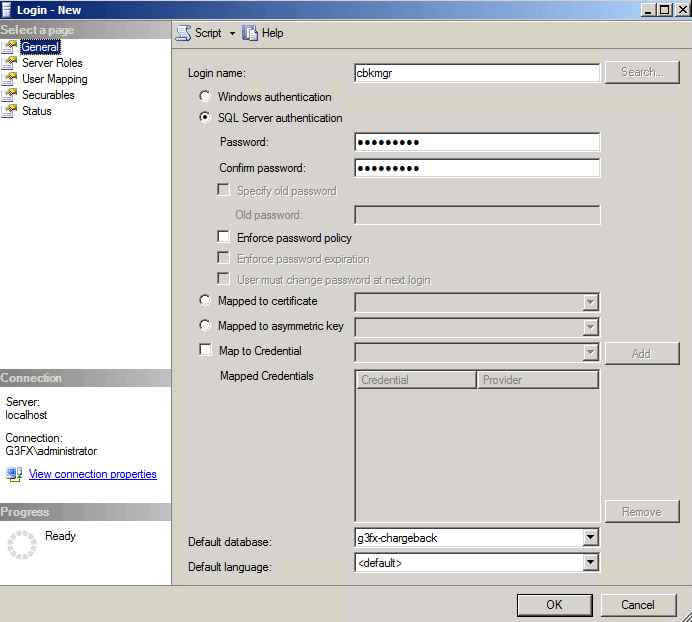
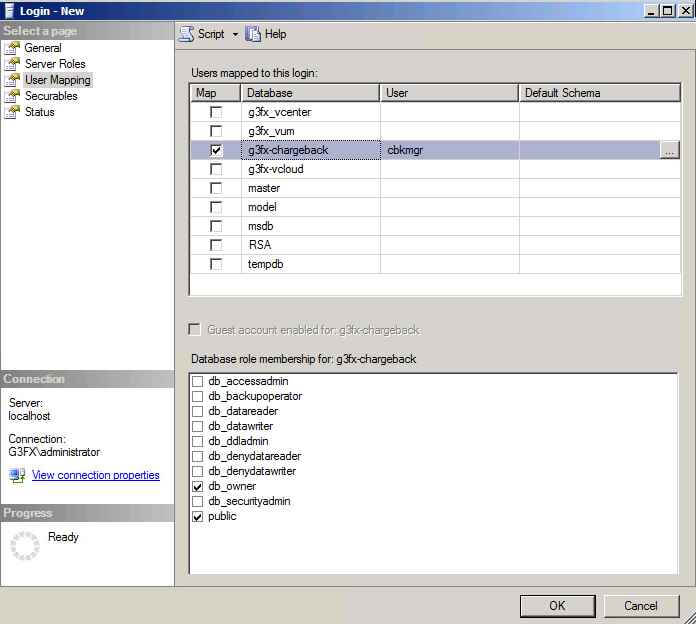
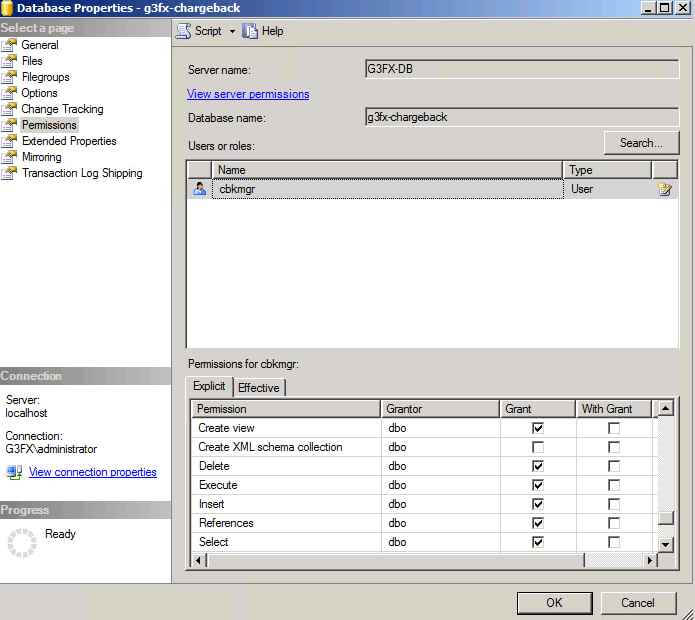

6. If you're Windows Firewall is enabled make sure you allow the following services:
HTTP (80)
HTTPS (443)
Load Balancer (if you have a load balancer setup you define the ports)

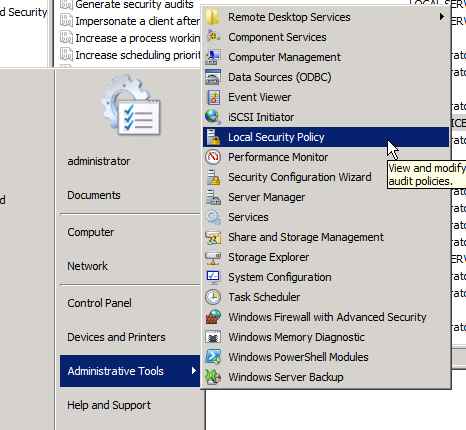
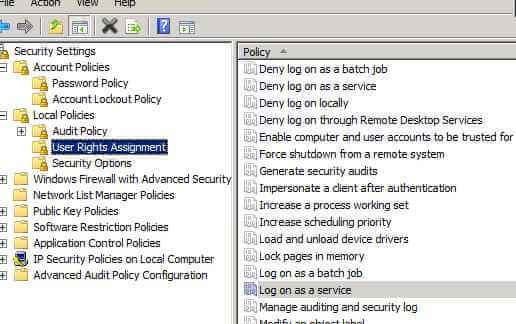
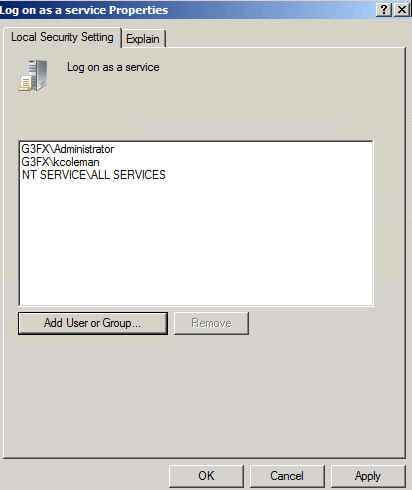
8. Download the vCenter Chargeback zip file to your desktop and unzip it.
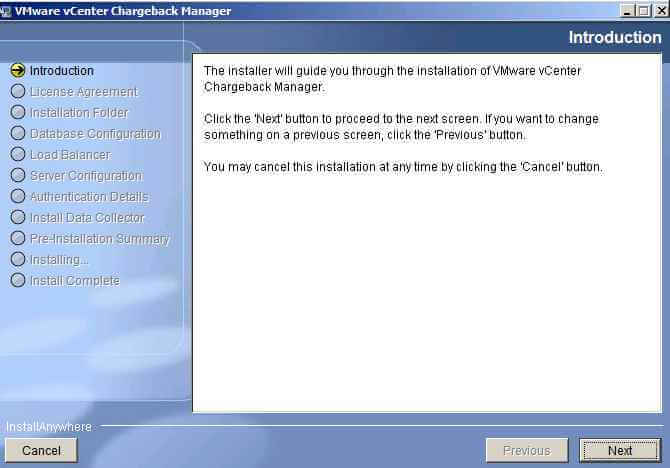
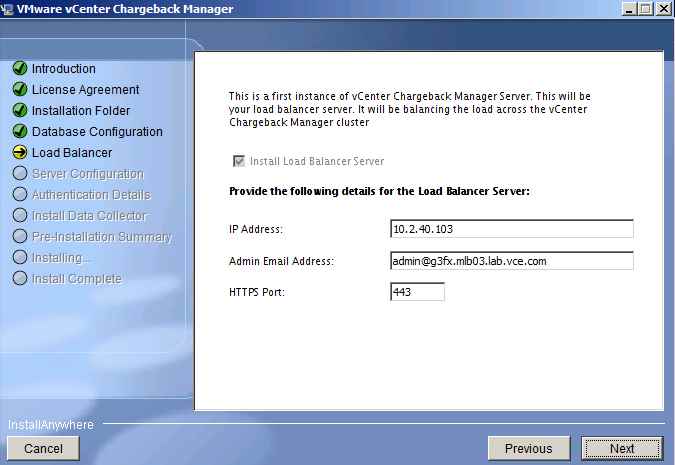
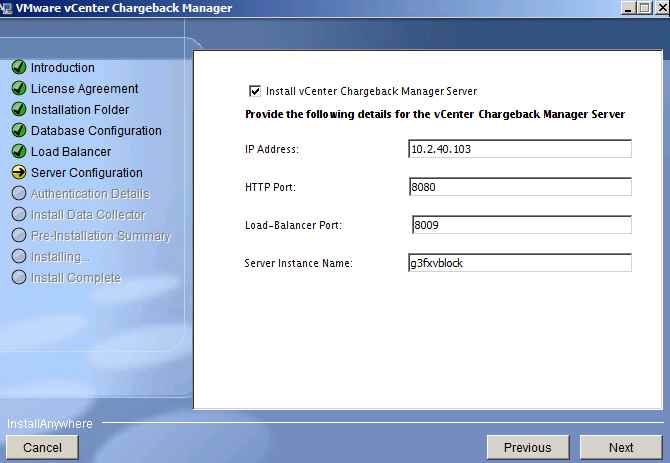
9. Double Click vCenter-CB to get started. (taken from the install guide) When you install vCenter Chargeback Manager, you can choose to install the load balancer, vCenter Chargeback Manager server, and data collectors on the same or different machines. If you choose to install the load balancer and the vCenter Chargeback Manager server on different machines, then you must first install the load balancer and then the vCenter Chargeback Manager server. You can first install the load balancer on the DMZ network and then install vCenter Chargeback Manager and the data collectors in the internal network. The vCenter Chargeback Manager database also resides on the internal network.
When you install the load balancer, the relevant data is stored in the vCenter Chargeback Manager database. When you run the installer on a different machine and provide the same database details, the installer provides you with an option to connect to the existing load balancer or install a new load balancer.
Click Next
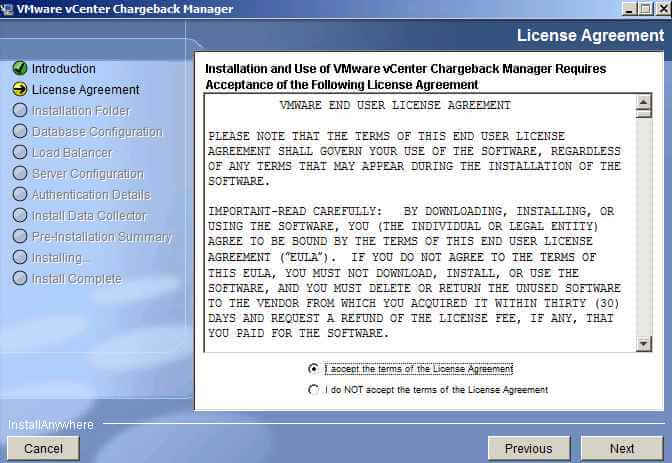
11. Change the Installation Directory if necessary. Click Next
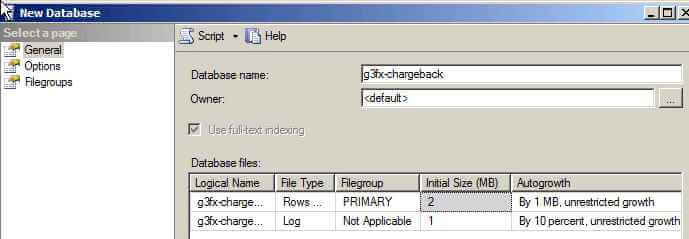
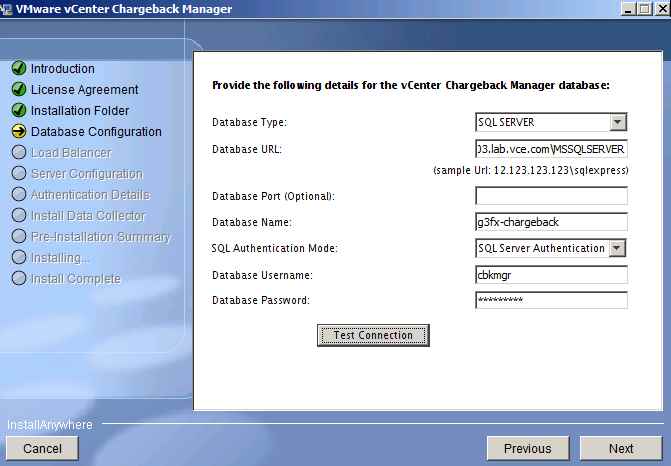
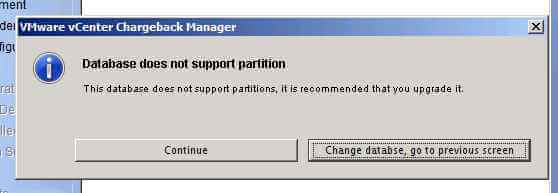
12. Fill out the database connection fields. Enter the database URL or DNS name of your SQL server. I appended the instance name MSSQLSERVER (SQL Server default) onto mine. Enter the Database Name and the authentication method. Click on Test Connection to see if it was successful. Click Next
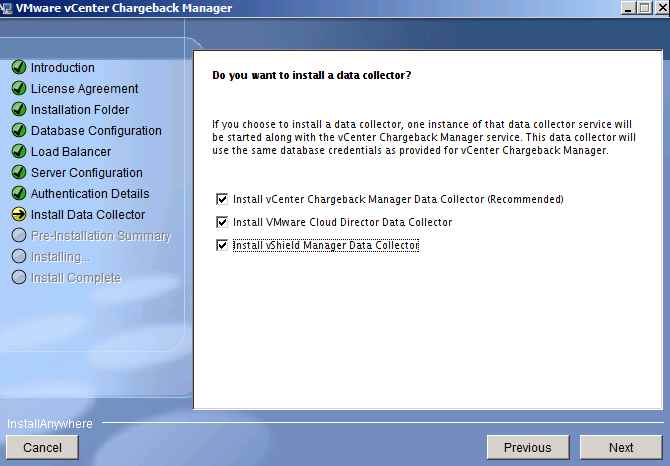
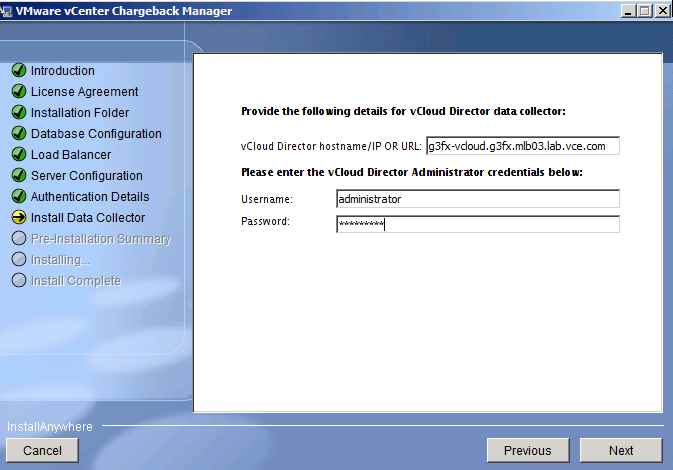
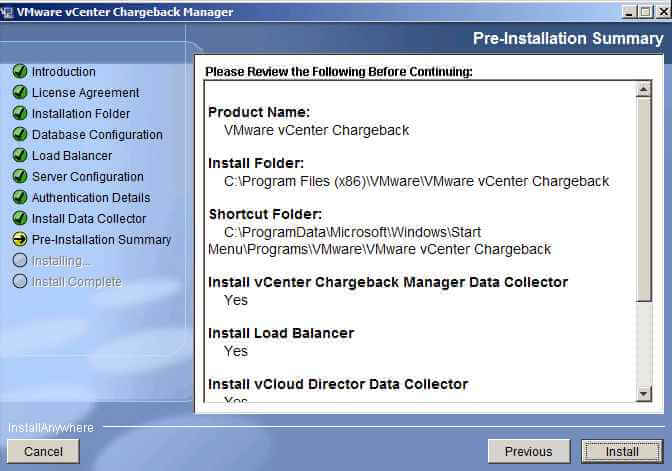
20. Let the installer go
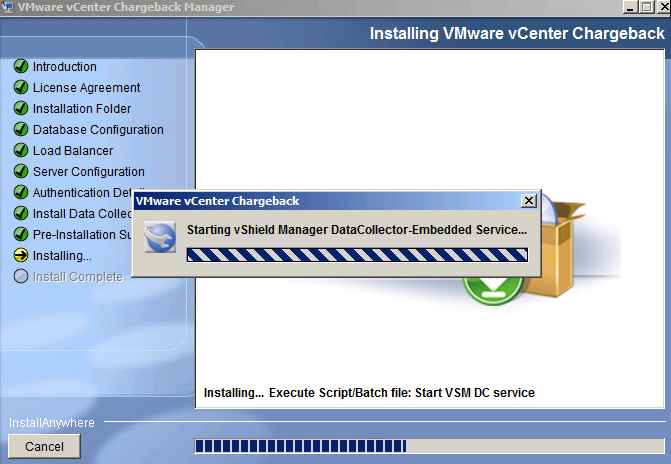
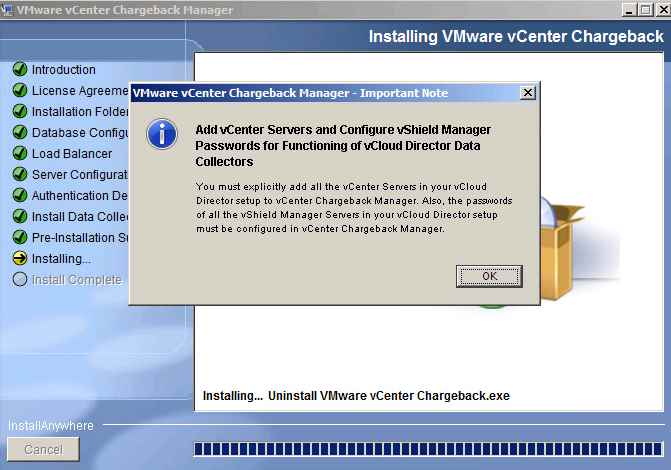
21. Then you will see a prompt to add and configure the collectors. We will do that in the UI.
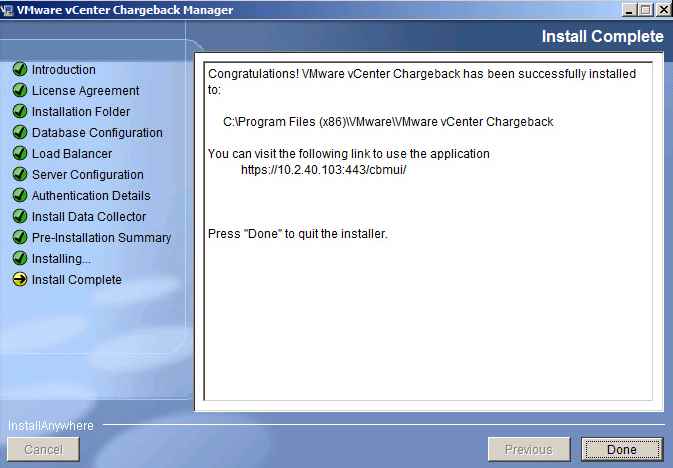
22. Now the installer has completed. Take note of the IP Address for Chargeback UI. Click Done
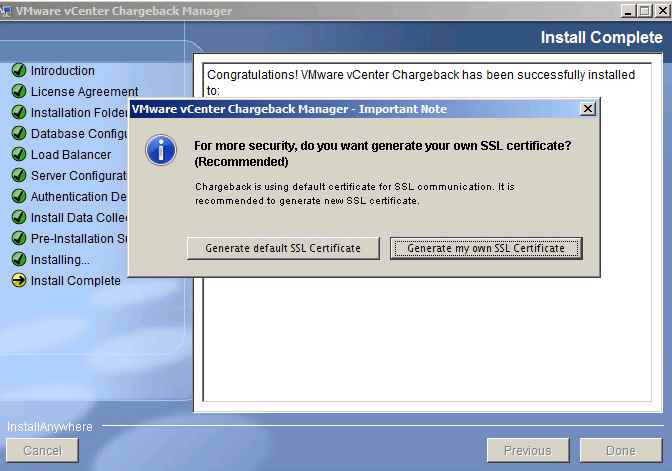
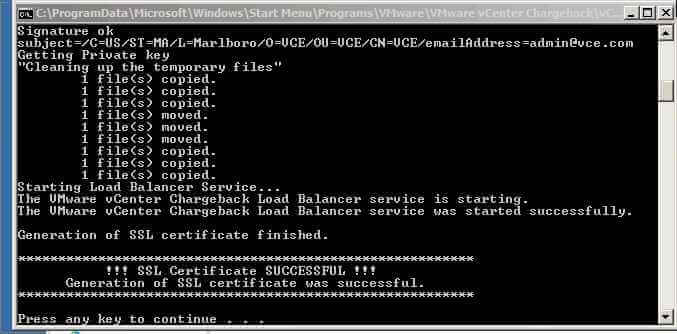
23. A pop-up comes up to generate SSL Certificates. Let's create our own
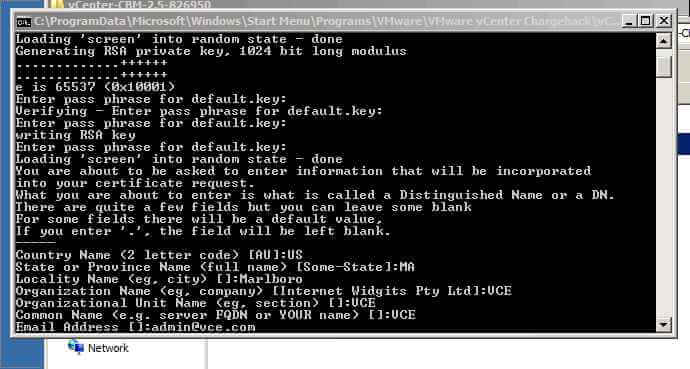
24. (skipping ahead. the original creation failed. If yours fails as well go to Start -> Programs -> VMware - VMware vCenter Chargeback -> vCenter Chargeback Manger Tools -> General SSL Certificate
Enter Passphrasses 3 or more times and then fill out the form to complete generating a SSL cert.
Then you will see the SSL success message
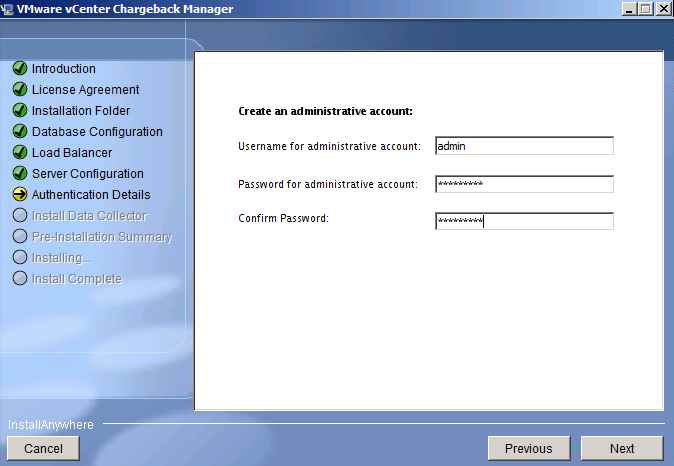
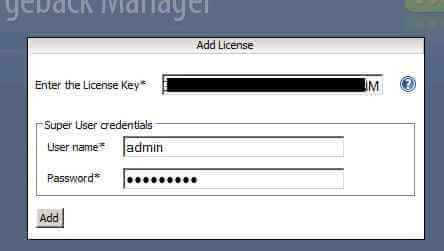
25. Navigate to the UI for chargeback https://IP_or_DNS/cbmui. Enter the license key and the local username and password we supplied earlier
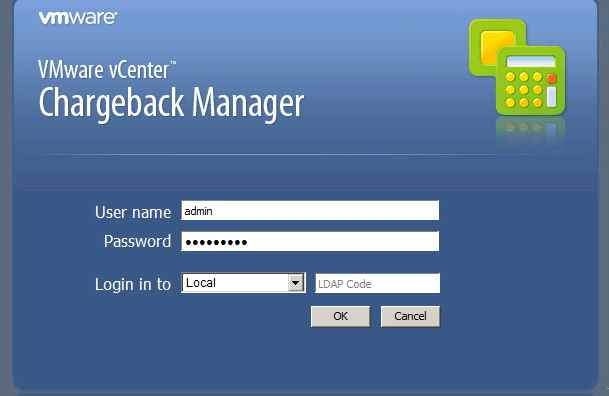
26. Login with the local user account
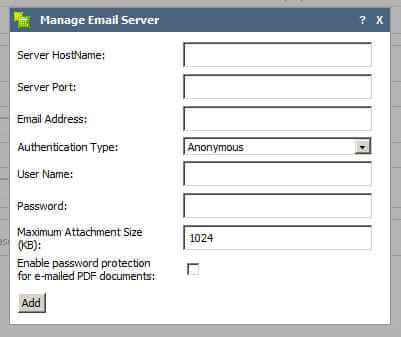
27. Let configure some basic settings. First Go to Settings tab -> General. If you have a SMTP server, add in Email Server settings.I don't have one so I'm leaving it blank
28.Now lets go to the LDAP Server settings for Chargeback in the Settings tab. Click Add. UPN is preferred for the username
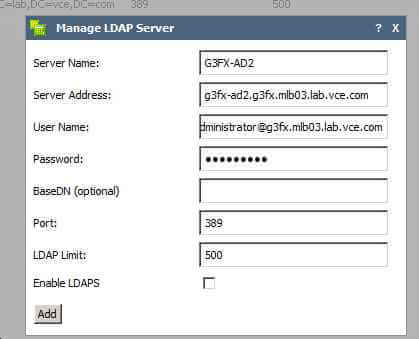
29. Add an LDAP user by going to Users & Roles tab -> Click on Create. I'm going to add the Domain Admins as administrators for Chargeback. If you want to assign a custom role, leave the default box checked and change it after it has been configured.
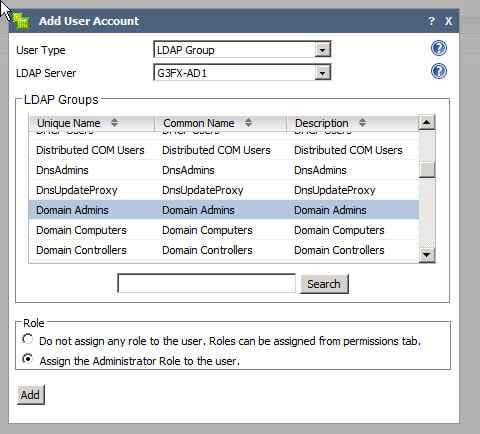
Now you can logout and log back in with LDAP. For the LDAP code use the "short name" that was configured during the LDAP addition. like G3FX-AD2 in my case.
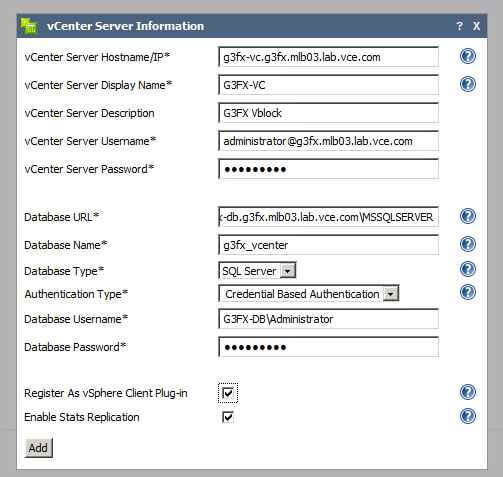
31. We have already configured the Data Collector for vCloud Director and vShield Manager by default during the installation. vCloud 5.1 uses the API, while if you are using 1.5 or below you will need to specify database user names and passwords. The last piece of this is that you need to go to the vShield Manager tab, and enter the password used by the local admin account to begin collecting those statistics.


